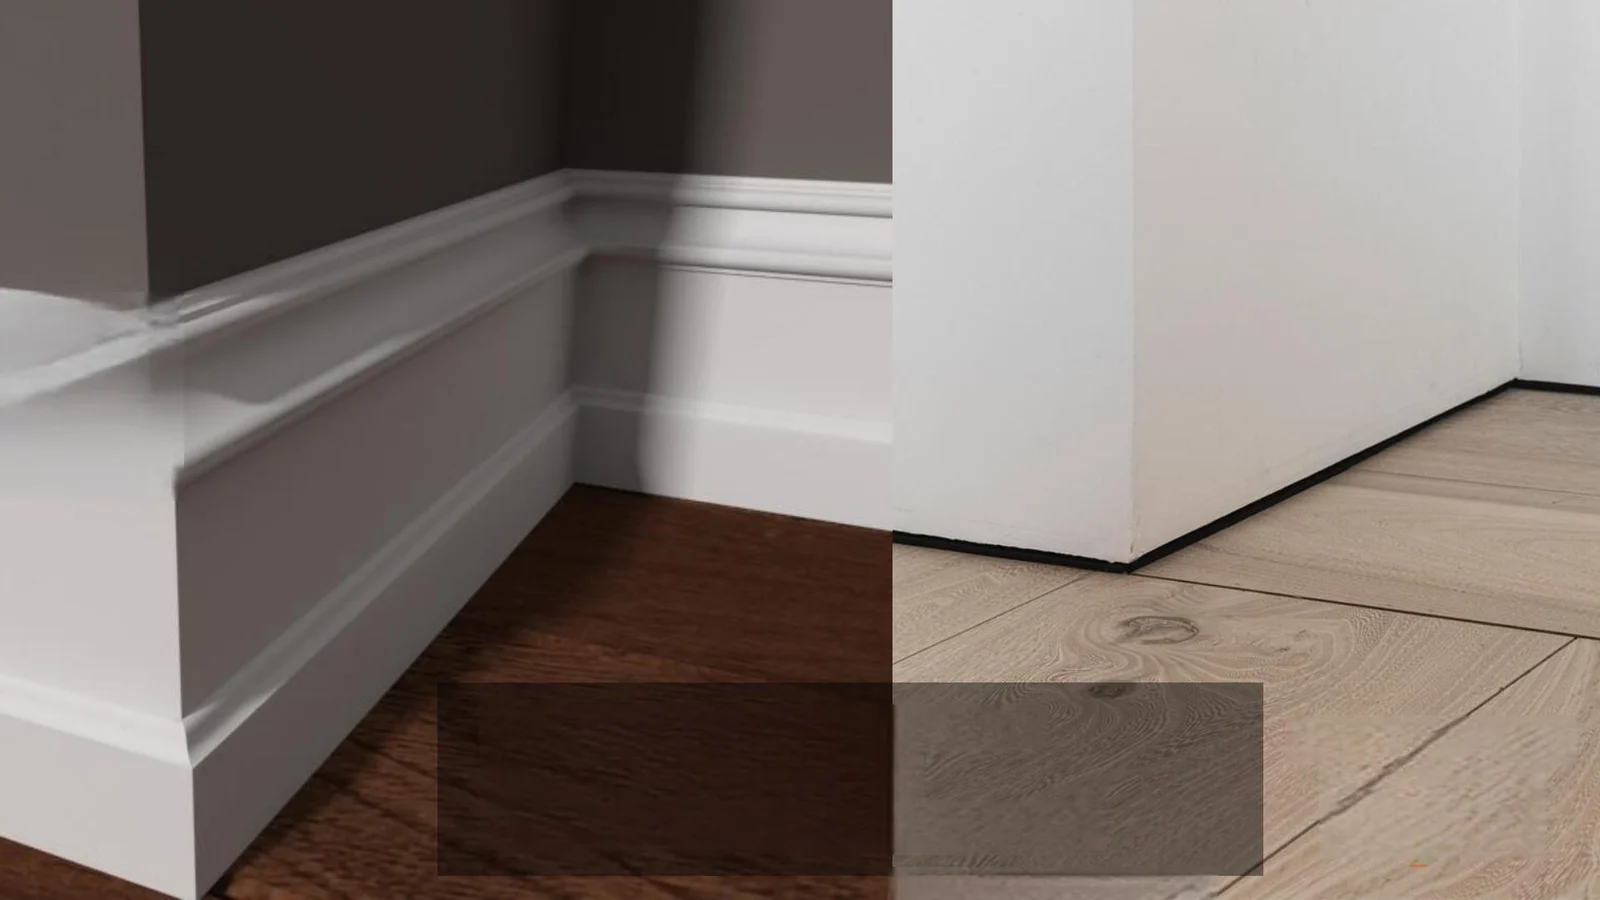















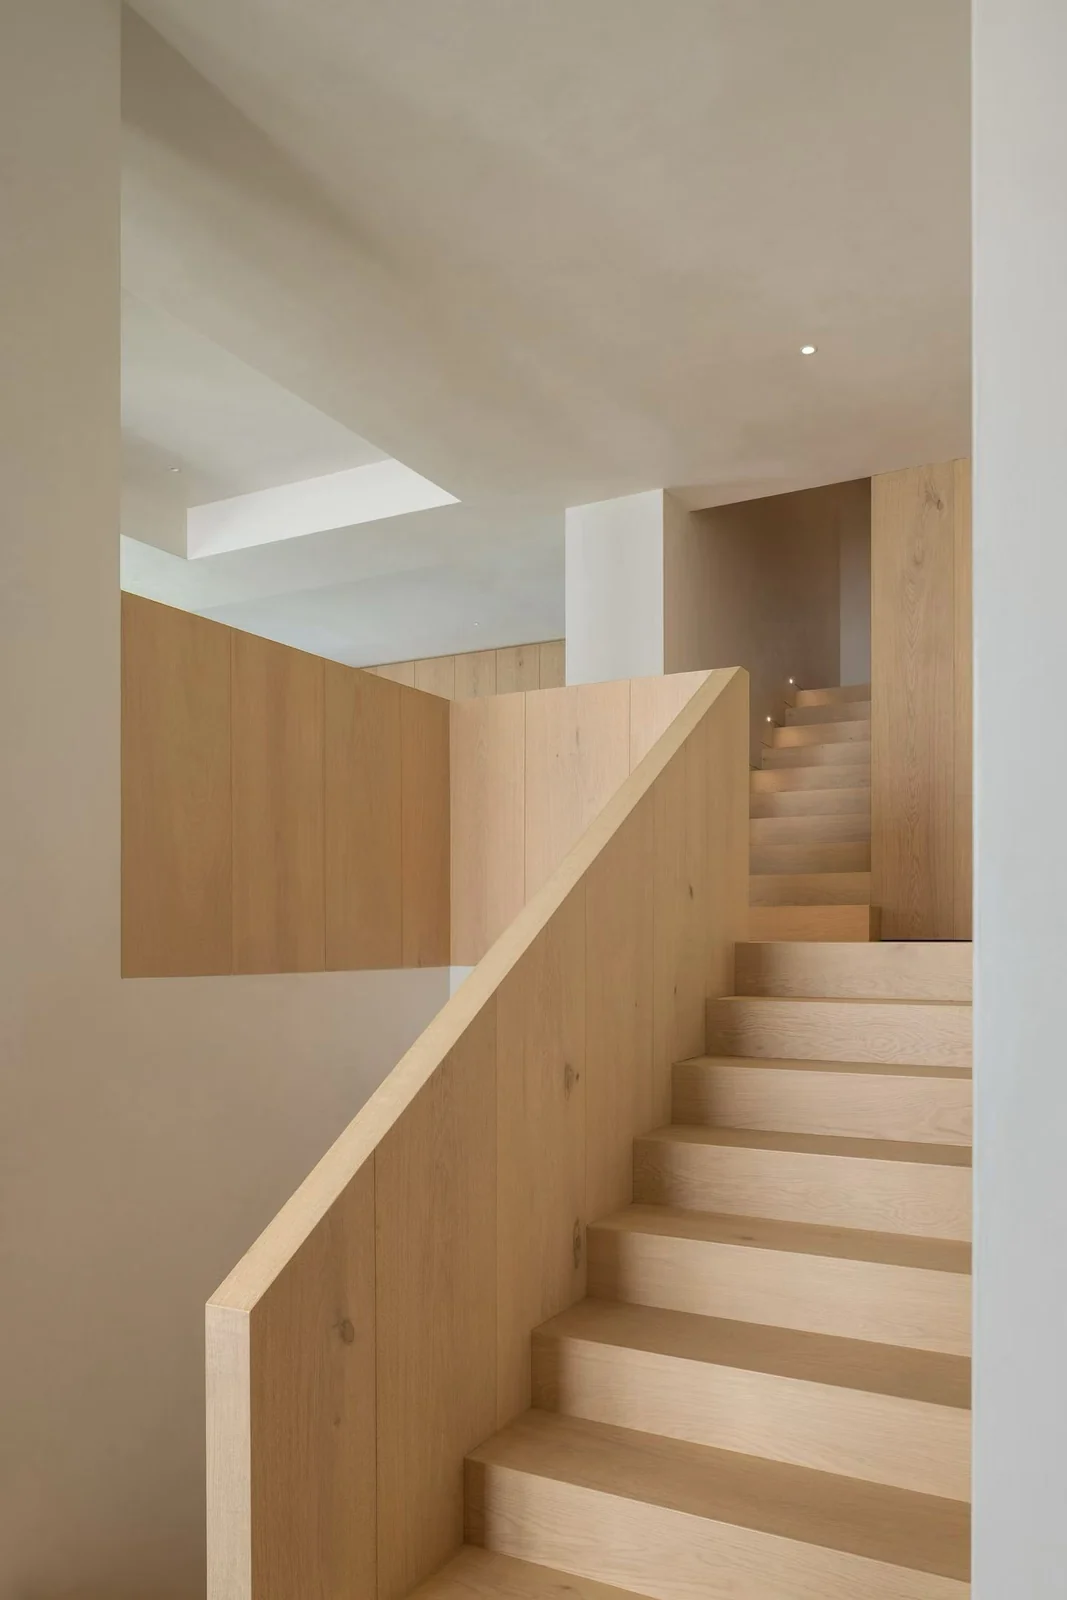
Overseas purchasing of timber treads and accessories must match fabrication dimensions to the actual local stairs. HUAGE application images support material and appearance discussions; project documents define finished levels, nosings, fixing and use requirements.
Check the whole stair flight from the upper and lower finished levels
Drawings should include the existing stair substrate and finished-level relationships between the upper and lower flooring, landings and every tread. After adding wood finishes and fixing construction, the project designer and contractor must review the first, last and intermediate steps as a whole. Do not select a board for colour alone and leave thickness changes until installation.
Final site measurements should state actual tread, riser, landing and boundary dimensions, distinguishing straight runs, turns and other forms. Photographs explain visual direction but cannot provide every step's dimensions or substrate condition. Use legible drawings and consider material selection alongside finished levels.
A stair nosing is more than an individual decorative strip
The nosing at a tread's front edge must be considered with the tread board, riser and side. Detail drawings should explain whether it is an integrated component or another assembly, its edge profile, connections and visible joints. Different nosing solutions may require different fabrication and fixing arrangements; a front-view photograph alone cannot determine them.
Approve samples by assembling tread, nosing and riser to observe grain, colour and edge feel, then check sides and handrail positions. At landings and corners in particular, continuous wood colour may involve different components. Number them separately and mark direction for supply checks and installation.
Define the junction between the upper-floor flooring and the landing
Where the stair top meets room flooring, define the finishing component, joint position and levels on both sides. Consider landing layouts—straight, herringbone or parquet—with tread direction. Draw these relationships in plans and details early to reduce ad hoc cutting after arrival.
Define wall edges, exposed sides and material junctions separately. Identical colour does not require identical construction; flooring and treads need application-specific approval. Supply schedules must identify each component's purpose rather than only total area.
Relate fixing and use requirements to the actual proposal
Project technical and installation teams must determine stair substrates, fixings and finishes for actual conditions. Check product and build-up documents for slip, fire or other requirements. Catalogue photographs provide no tread slip rating, fixing system or universal thickness; do not infer parameters from them.
Samples, site conditions and the installation proposal should jointly support the final selection. Before ordering, confirm responsibility for final site measurements, fabrication, on-site adjustment and acceptance. Replacement arrangements for special components can also be discussed early. If products or details change, recheck the finished levels and connections of the whole stair flight.
Deliver by component and inspect by application
Identify treads, nosings, risers, landings and trims separately in the handover schedule, with dimensions, direction, finish and accessories. After installation, check results, connections and boundaries against approved drawings and samples, retaining product and build-up records. HUAGE stair references move material discussions from photographs to defined components and details.
For overseas supply, define final measurement and fabrication responsibilities first, and have the local contractor review the entire stair flight and upper/lower floor junctions. Check performance and local suitability against the actual components and build-up.